Now, back to the project teaser I showed in the last post. Unfortunately, I wasn't on-the-ball with the picture taking. I was in more of a get-er-done mode at the time. I started with a plain 1x6x6 piece of wood. The picture from the last post was after I had put a coat of primer on. If I would have had a can of stain handy I would have skipped the primer and just slapped some stain on but we didn't move any and I haven't needed any since we have been here so I used the craft paint that was in the last pic. Burnt Umber - but it was old and way too thick so I just dumped it in a cup and added water until I got it where I wanted it, then slapped it on with a sponge brush (I hate washing brushes so when it comes to something like this, I will use a sponge brush and toss that baby in the trash)

Now I had a board that looked like this. I kinda liked the look and almost just stuck with that, but I forged on and pulled out the ASCP

This would be where the I didn't bother to get the camera out portion of the program would be.
I can't remember if I did one or two coats of the Old White, ASCP, I've slept since then. Whatever. Then I sanded back to where some of the craft paint could be seen. (this is why I did the dark paint - I didn't want to sand back to bare wood)
Again - no pictures of this stage. Oops.

But after I waxed and added coat hooks, here she is hanging in the entry! We don't have a fireplace so I needed someplace to hang stockings!
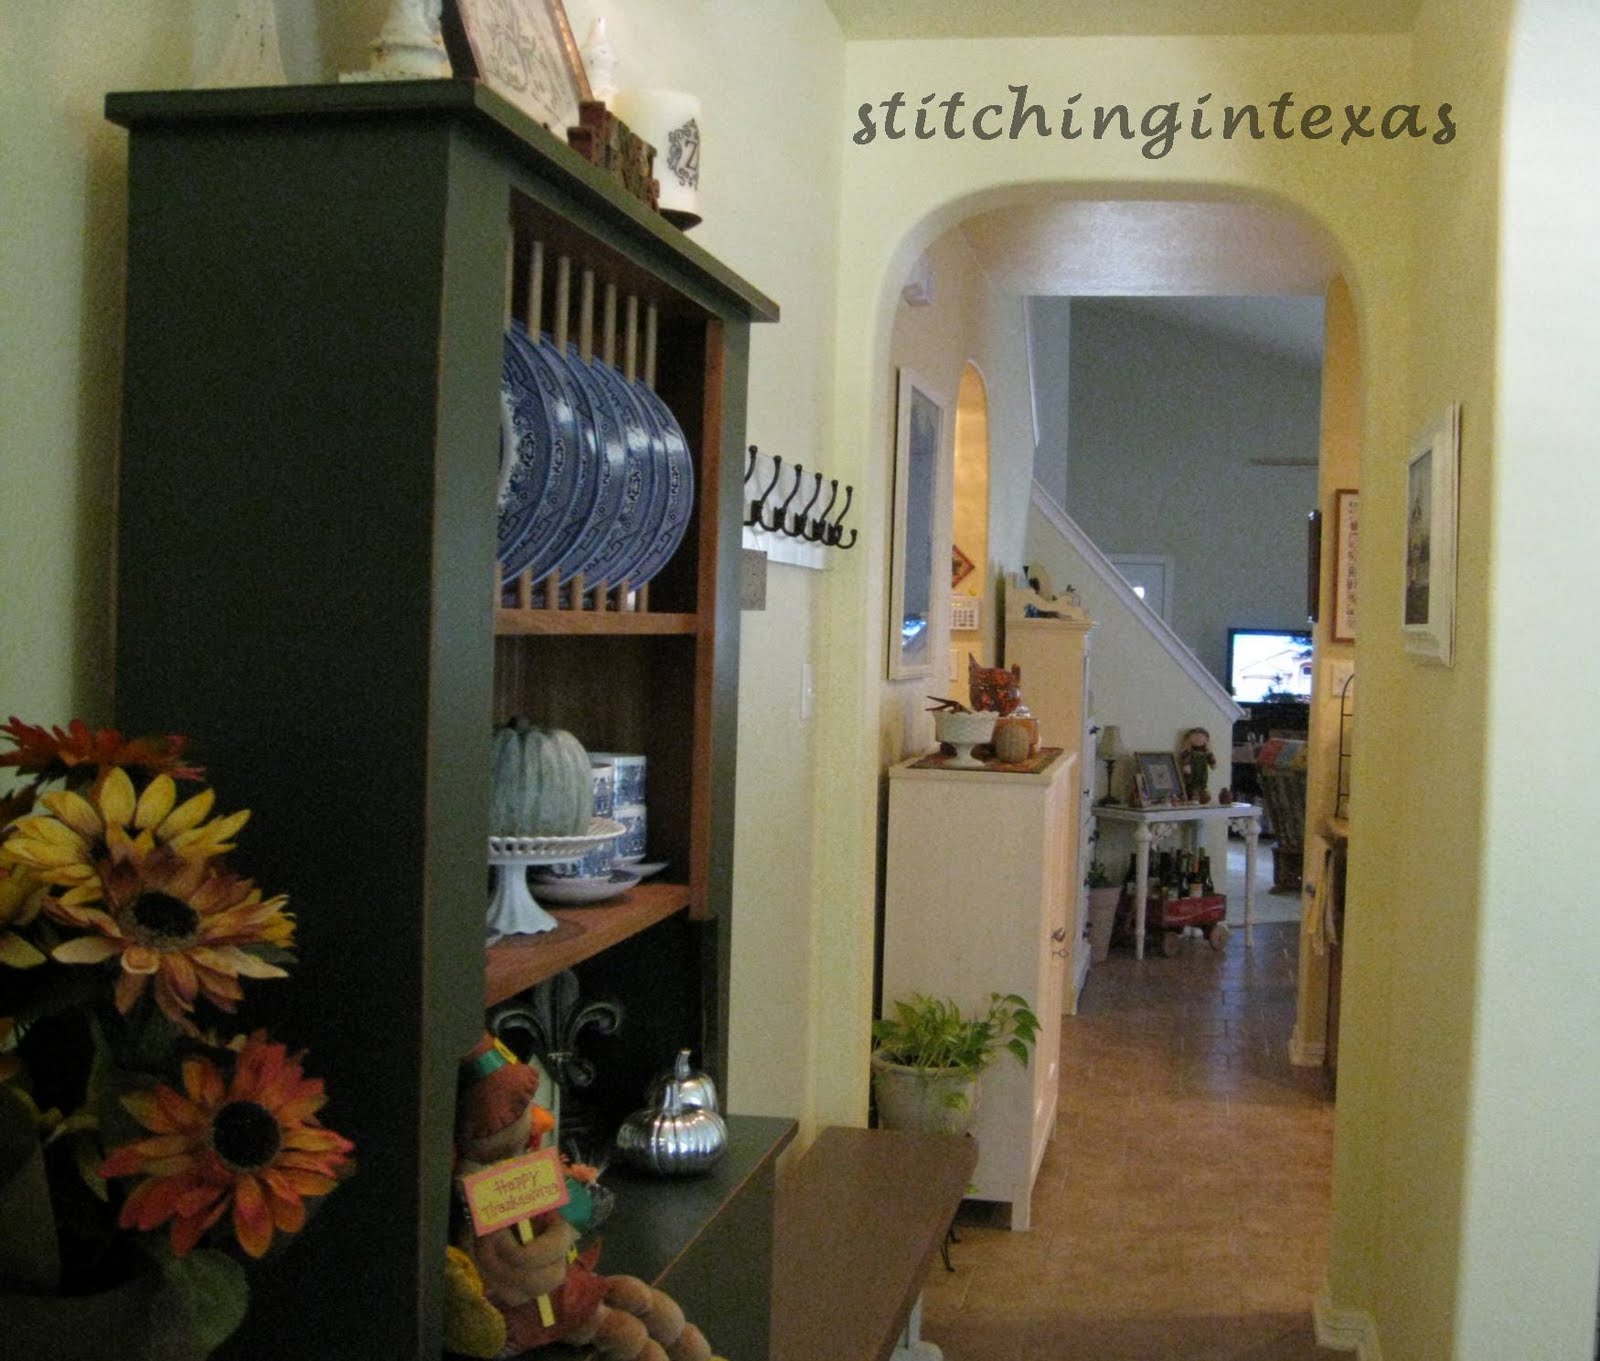
These pictures are all from before Thanksgiving so just ignore the fall decor - I'm still decking the halls and will post pictures of that later but I thought I would show you a few pictures to get your bearings since I've shown the hutch a couple of times. This picture was taken standing at the front door. The arched opening directly ahead leads into the kitchen (on the right) The laundry room and garage door are to the left (along with a little closet that is under the stairs).
Just past the kitchen is the breakfast room - you can see where the stairs are coming down and a little table against the stairway. The breakfast table is to the right, and beyond that is the family room, den, living room - whatever you want to call it. We don't have a formal living room - never have and considering how often we use the dining room. . . We do have a game room upstairs with another tv which comes in handy on Sundays. I hate football. 'nuff said.

This is standing on the far side of the dining room, looking back into the entry. (you can see the dog crate that I cropped out of the last pic, lovely isn't it?). The front door is to the left. Next time I will try to get a pic from a corner so you can see more of the dining room. Even though we have been here a little over two years, it is still a work in progress. Who am i kidding - we lived in the last house 24 years and it was still a work in progress!
Back to hall decking.

2 comments:
I can just imagine the different areas of the house Tina. Great description :-)
What a cute idea! My youngest doesn't have a fireplace either and she just tacks the stockings to the wall. She needs to do something like this! :)
I'm going to forward this idea on to her. Thanks for sharing!
Post a Comment